Better Floor Coating Kit 500 sq. ft. 13.7 mil

06/15/2021
by

Full Kit COVERAGE IS UP TO 500 SQ. FT. AT 13.7 MILS

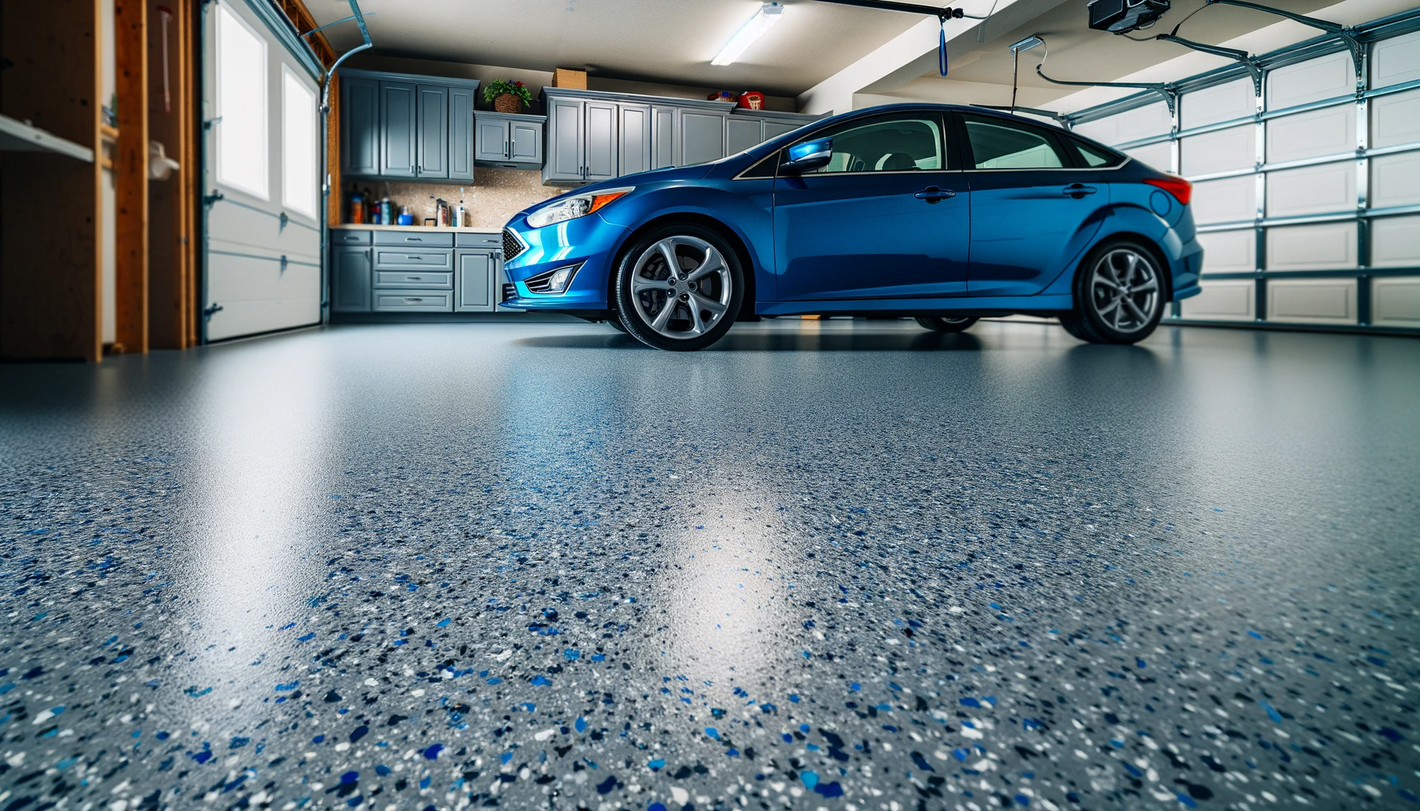
The Better Full kit is ideal for 2-car garages, with moderate to frequent traffic and vehicles like SUVs and trucks. It saves time as a single coat and self-priming epoxy. The Better Half Floor Coating Kit includes a high-performance Cycloaliphatic 100% solids epoxy that’s made for high-wear chemical and compressive resistance. 

The Better Kit also includes Poly 200 for a top coat that adds luster, durability, and extends the life of your epoxy floor. Poly 200 increases the thickness of the floor coating, protects from scratches, and adds UV resistance. 

On a properly prepared floor, the Better Kit epoxy bonds to concrete better than concrete bonds to itself. It’s perfect to keep your garage floor looking clean since it resists hot tire pick-up and staining from gasoline or other spills. 

Epoxy your garage floor with the same product used by NASA, the US Army, Navy, Air Force, and Marines. Our products are also used by GM, Ford, Chrysler, Toyota, Honda, Caterpillar, Boeing, and Lockheed Martin. In fact, our epoxy looks so great it’s used at MGM Casinos and Studios, Universal Studios, and Disney!

Features of The Better Half Floor Coating Kit 

  • Made in the USA
  • 10 times more durable than kits sold in national chains
  • Slip-resistant
  • Antimicrobial
  • Resists chemicals, salt, oil, and hot tires
  • Top coat for added durability and shine 


Included with The Good Half Floor Coating Kit 

  • 2 gallons of Epoxy-Coat® Part A
  • 1 gallon of Epoxy-Coat® Part B
  • 1.5 gallons of Poly 200
  • .25lbs of Aluminum Oxide Non-Skid
  • 9oz Prep Solution
  • 2lbs of Performance Chips


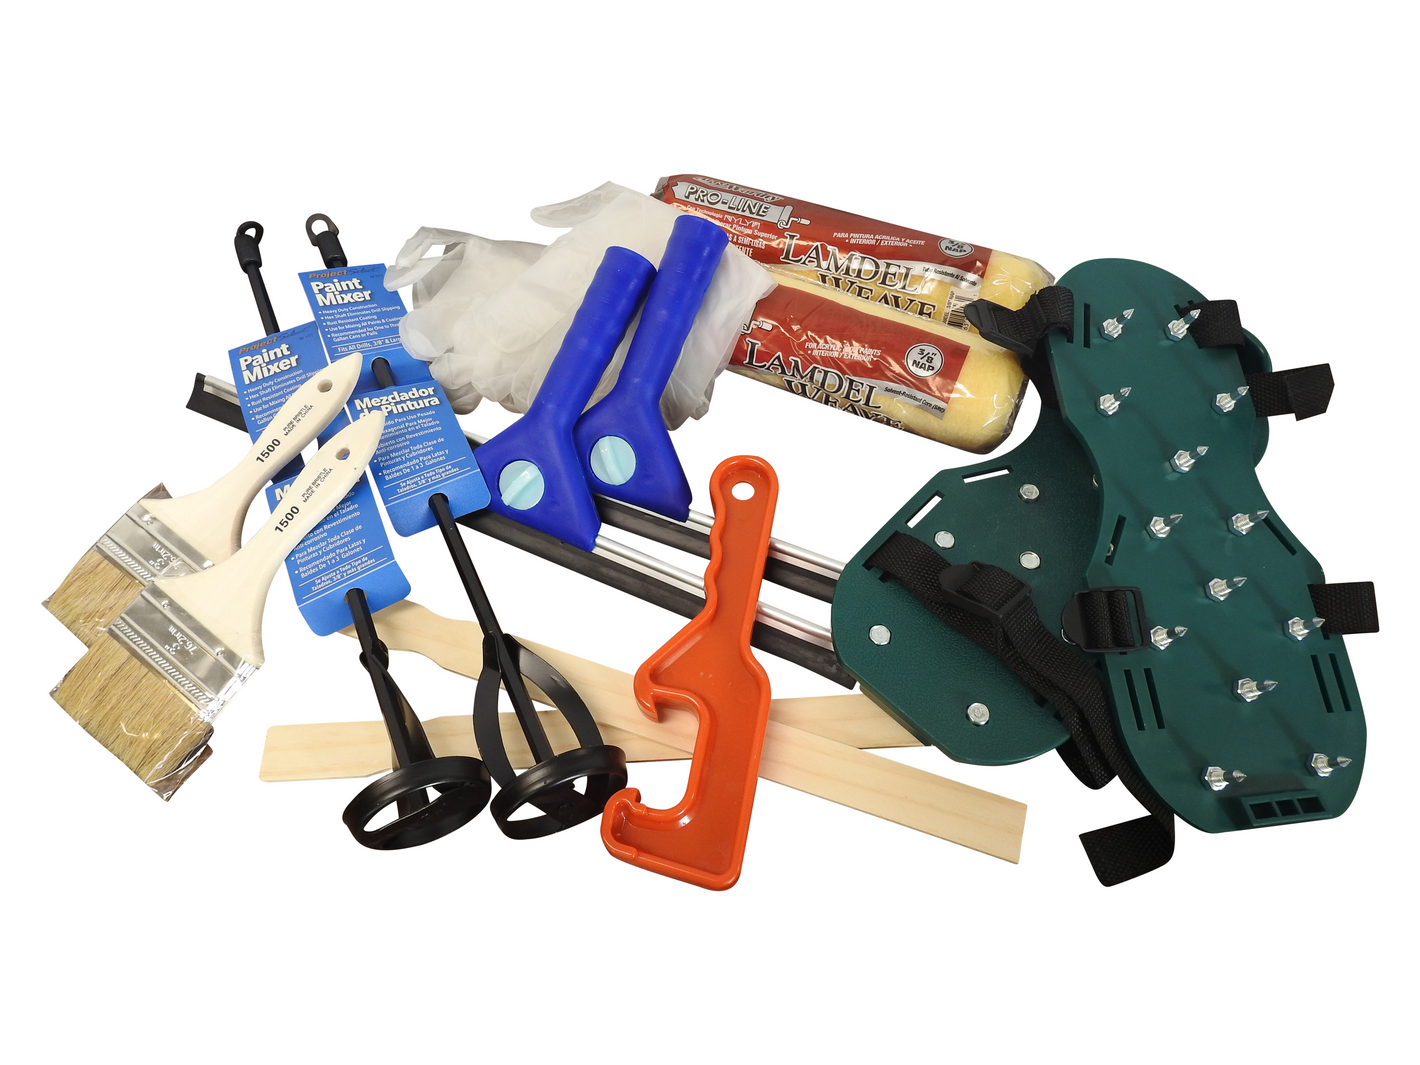
Included Kit Application Tools 

  • (2) 3" Brush
  • (2) 9" Roller Cover (3/8" Nap)
  • (2) Squeegee
  • (1) 16" Mechanical Mixer
  • (2) Pair of Vinyl Gloves
  • (1) Pair of Spiked Shoes
  • (1) 16" Mechanical Mixer
  • (1) Mixing Sticks

Epoxy Product FAQs

Why epoxy a garage floor?

Epoxy is one of the most durable and toughest garage floor coatings available. It seals and protects your garage floor from tire marks and stains from gasoline and other chemicals. Epoxy does an excellent job of covering cracks and imperfections. Garage floors with epoxy finishes are easier to care for because they resist moisture and are less dusty. 

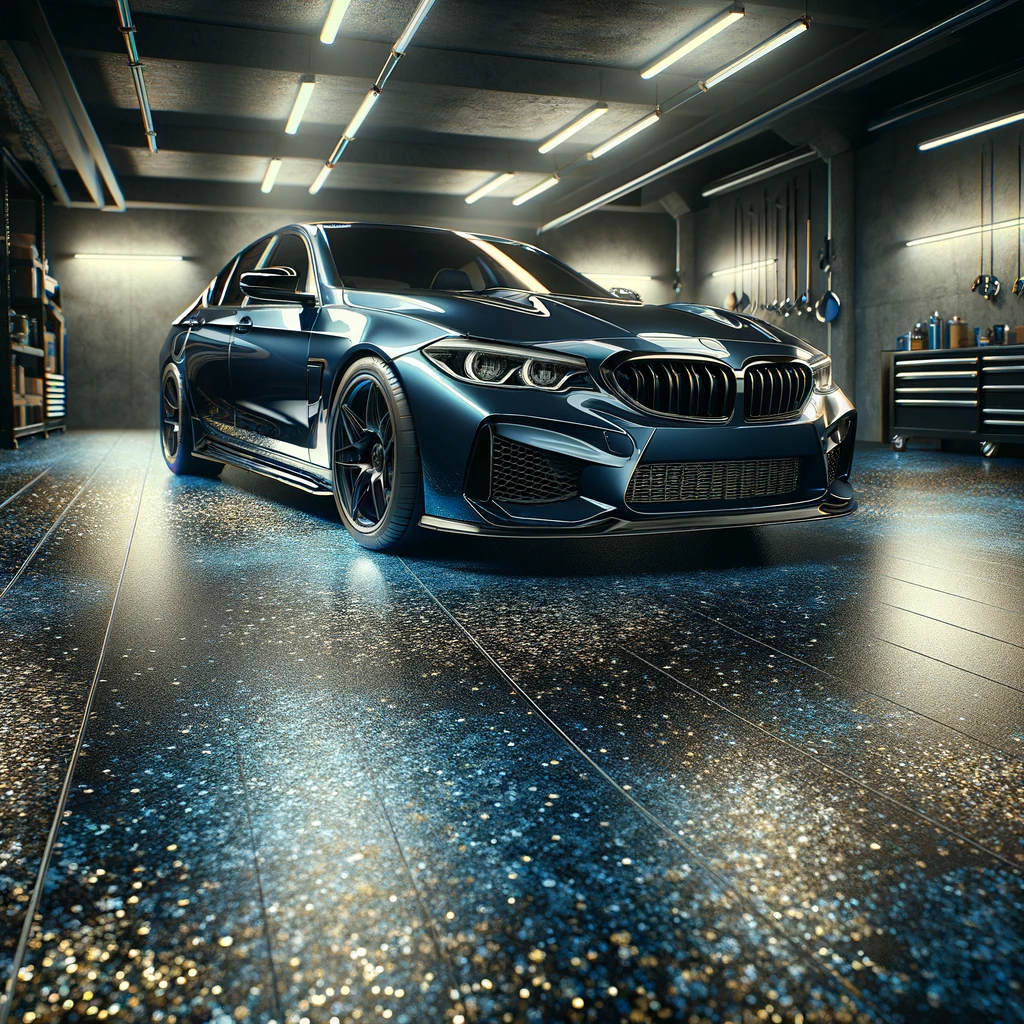
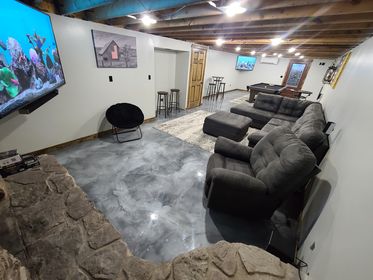
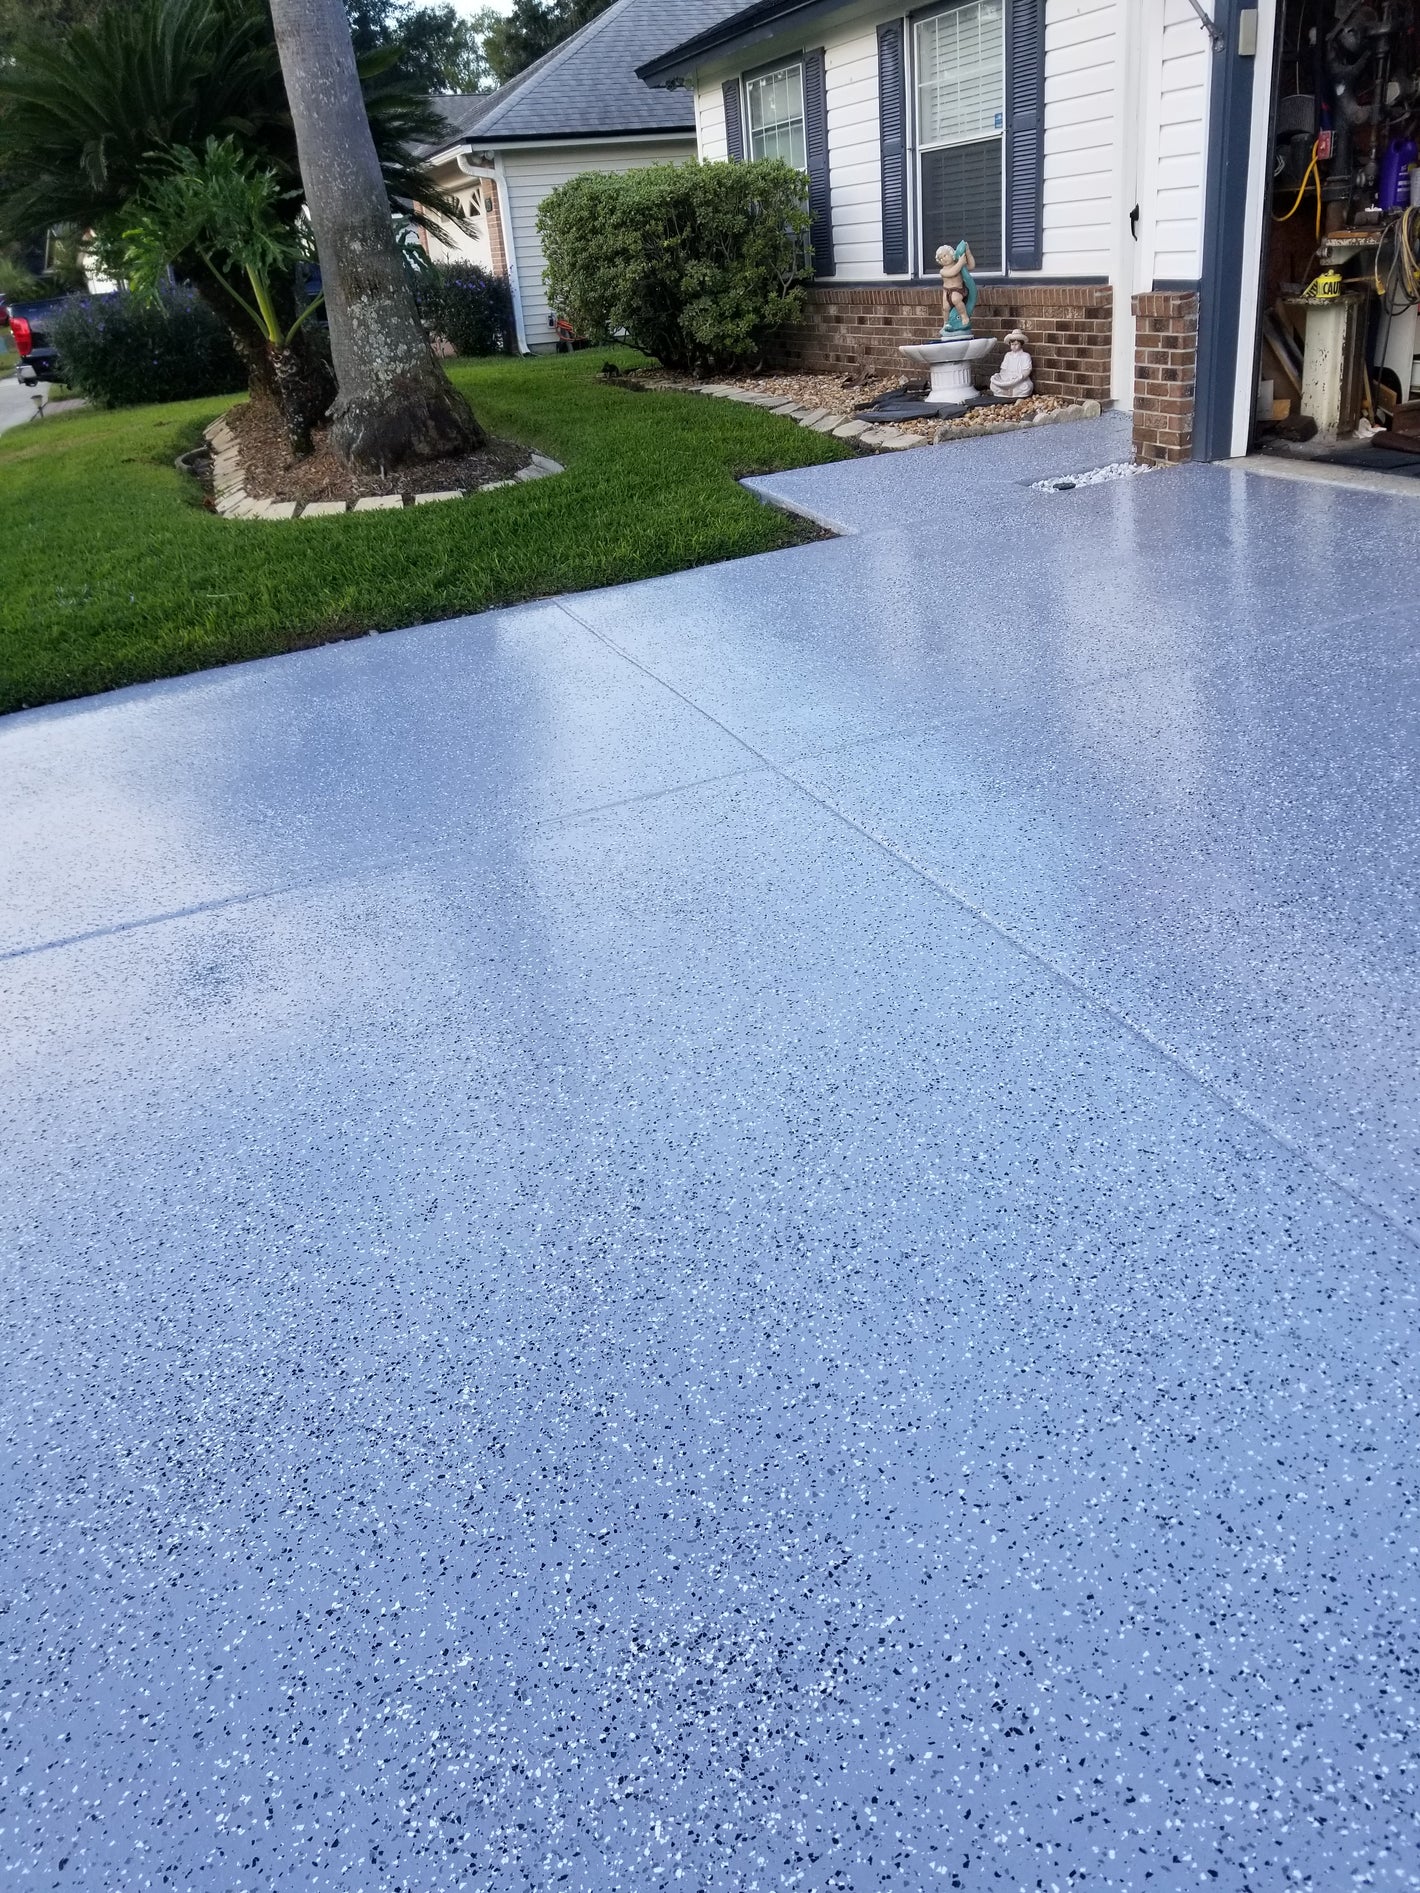
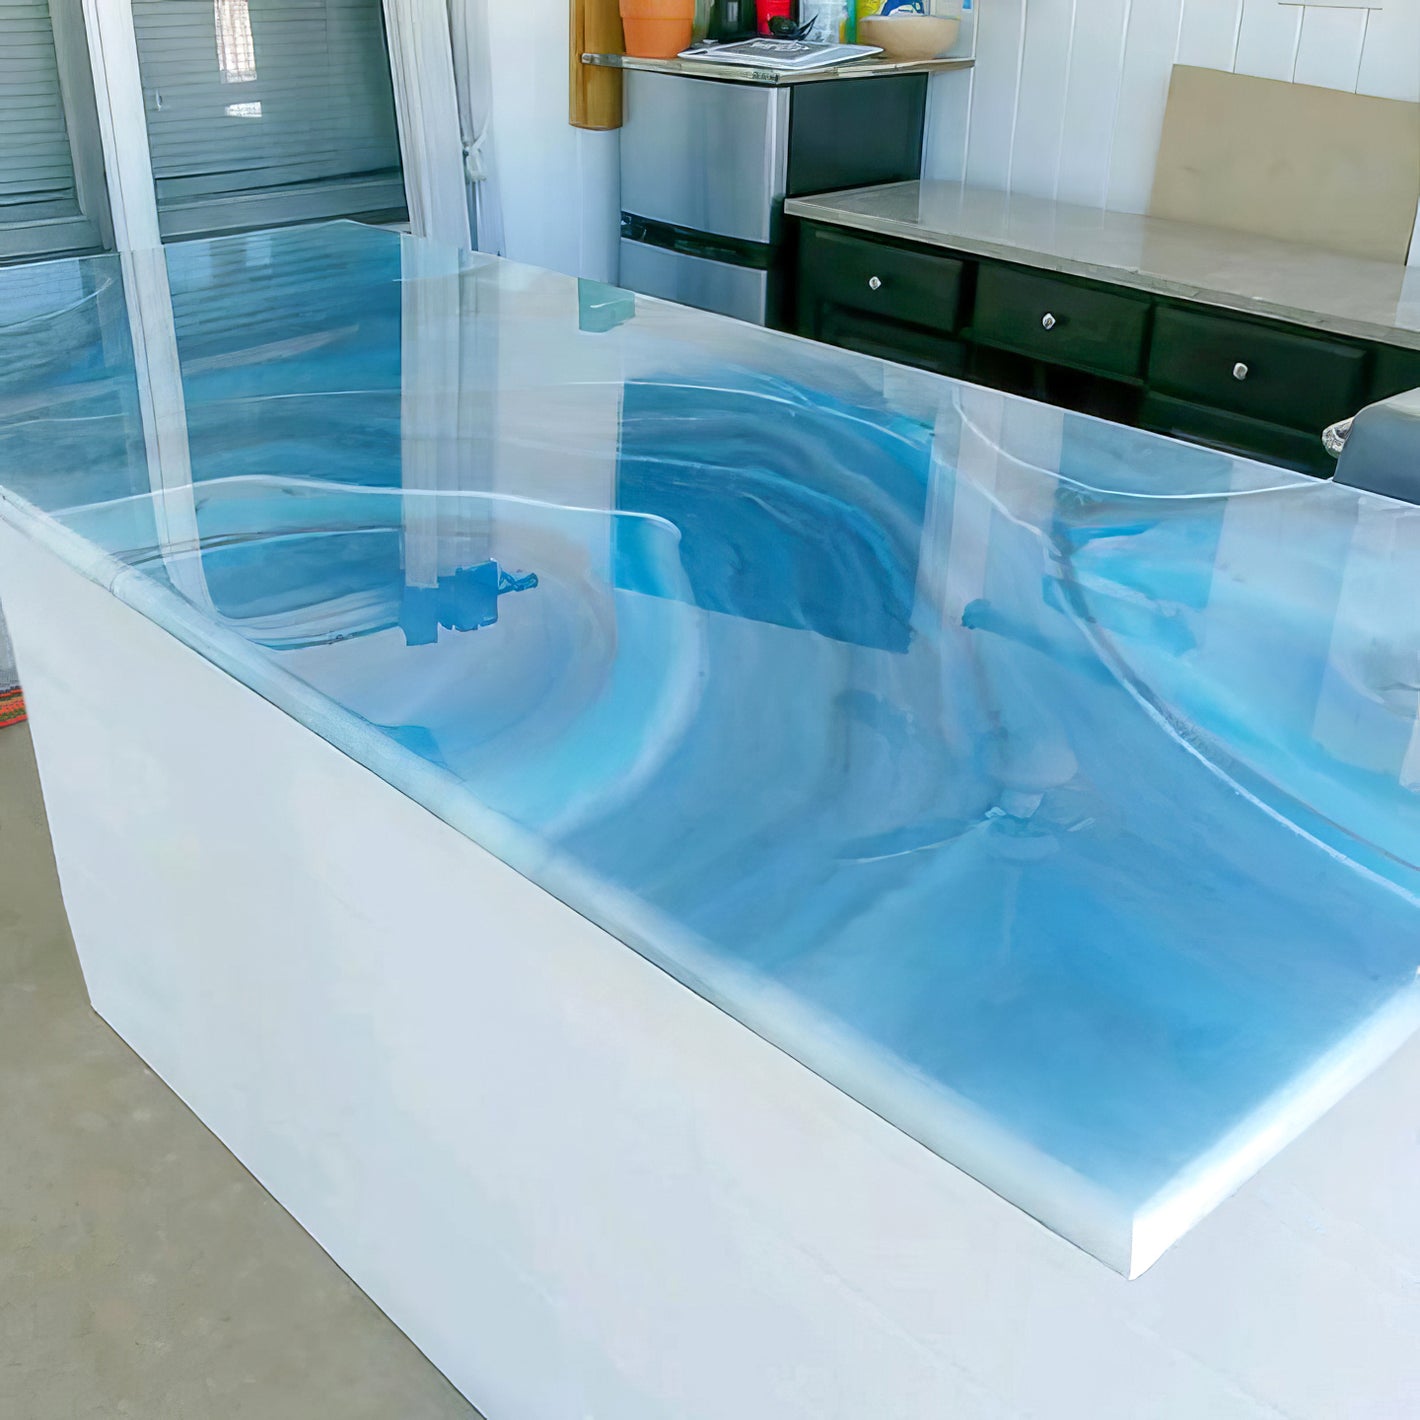
An epoxy-coated garage floor looks amazing! It gives your garage a showroom look. Epoxy coatings allow you to create a custom look with a variety of colors and blends of color flakes. Or choose one of our metallic epoxy options for a truly unique look.

Why is epoxy better than paint for garage floors?

Epoxy is better than paint for garage floors because it’s more durable, prevents stains, scratches, and doesn’t chip like paint. It bonds to surfaces better than paint. Epoxy is the best garage floor coating option available and is a cost-effective solution.

Is a top coat required for an epoxy floor?

A top coat is not required, but we highly recommend applying one. A top coat enhances the durability and strength of an epoxy floor. Over time, microscopic scratches build up on an epoxy floor and can create a dulling effect to the color. A top coat acts as a sacrificial layer, absorbing those scratches so the rich color of your epoxy floor stays true. A top coat increases the strength of your epoxy while adding a stunning gloss shine! 

How to apply epoxy to a garage floor

The ideal temperature for applying Epoxy-Coat is 40F-85F (4C-30C) and humidity should be below 85%.

We recommend testing for moisture. Our Vapor Gauge test kit makes this a simple task. It’s also suggested to test previous sealants. To determine whether the concrete has been previously sealed, pour a small amount of water onto the surface in various areas. If the water beads, a sealer is present and needs to be either chemically or mechanically removed with a diamond grinder.

Preparation 

Sweep or blow off the floor thoroughly. Use a diluted degreaser to remove any contaminants and oil. Add acid granules floor prep solution and 5 quarts of water into a pump sprayer and apply to the floor evenly. Scrub the floor surface with a stiff-bristled broom. 

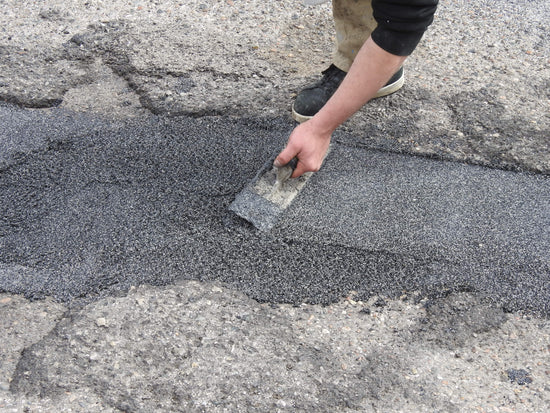
After preparing the floor but prior to application, existing joints and saw cuts can be filled with Epoxy-Coat patch kit. Cracks under 1/8” should be patched with Epoxy-Coat acrylic latex caulk. 

Application

Follow the mixing instructions for the epoxy coating included with the product kit or online.

Wearing vinyl gloves while applying epoxy floor coating is suggested. Also, consider our optional spike shoes to make the application process easier. 

Applying our Epoxy-Coat Primer first is optional, but does help prevent common flooring issues while adding to the coating’s durability.  

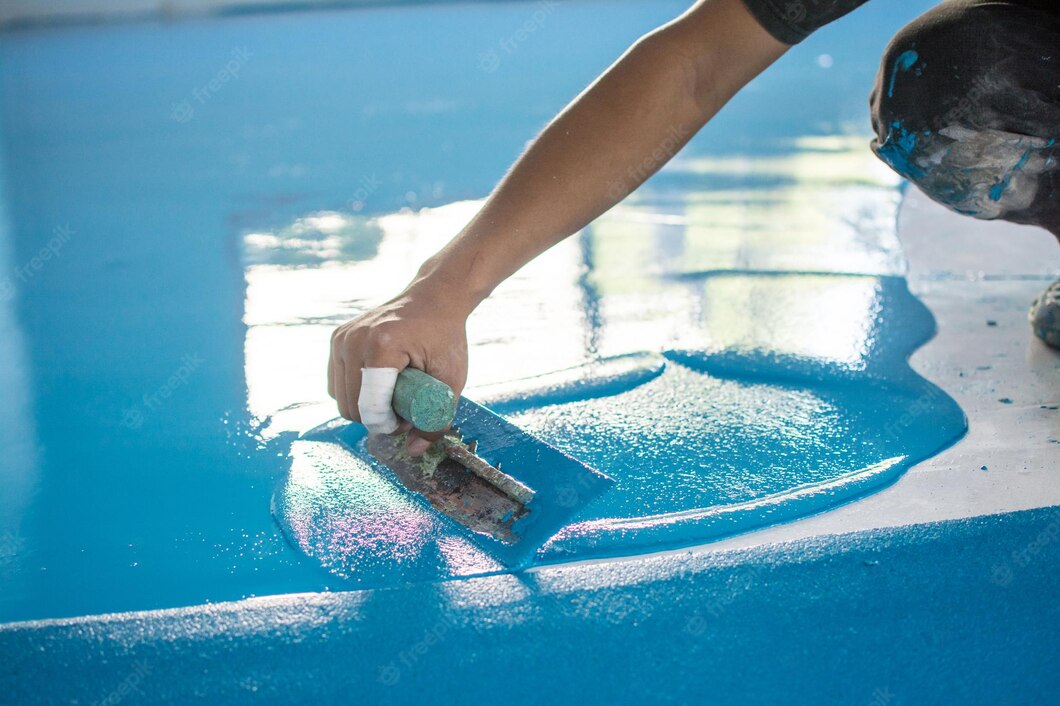
Pour the epoxy along the farthest wall. Use the kit squeegee to draw the epoxy from the back wall until there is no more wet epoxy. Continue to squeegee, pulling the product down the line until complete.

Next, use the kit roller to apply the epoxy perpendicular to the squeegee applications, smoothing out any lines. 

Complete a second section with the squeegee and roll process, then return to the first section and back-roll it again.

If flakes were purchased, take a small amount and apply by throwing the flakes into the air at 5’ or higher. Apply flakes evenly throughout the flooring. 

Finally, apply Performance Poly200 Clear Top Coat to protect your floor and to add a showroom shine! 

Detailed instructions are available online and included with our kits. You can also check out this instructional video for more information. 

Comments

No posts found

Write a review