
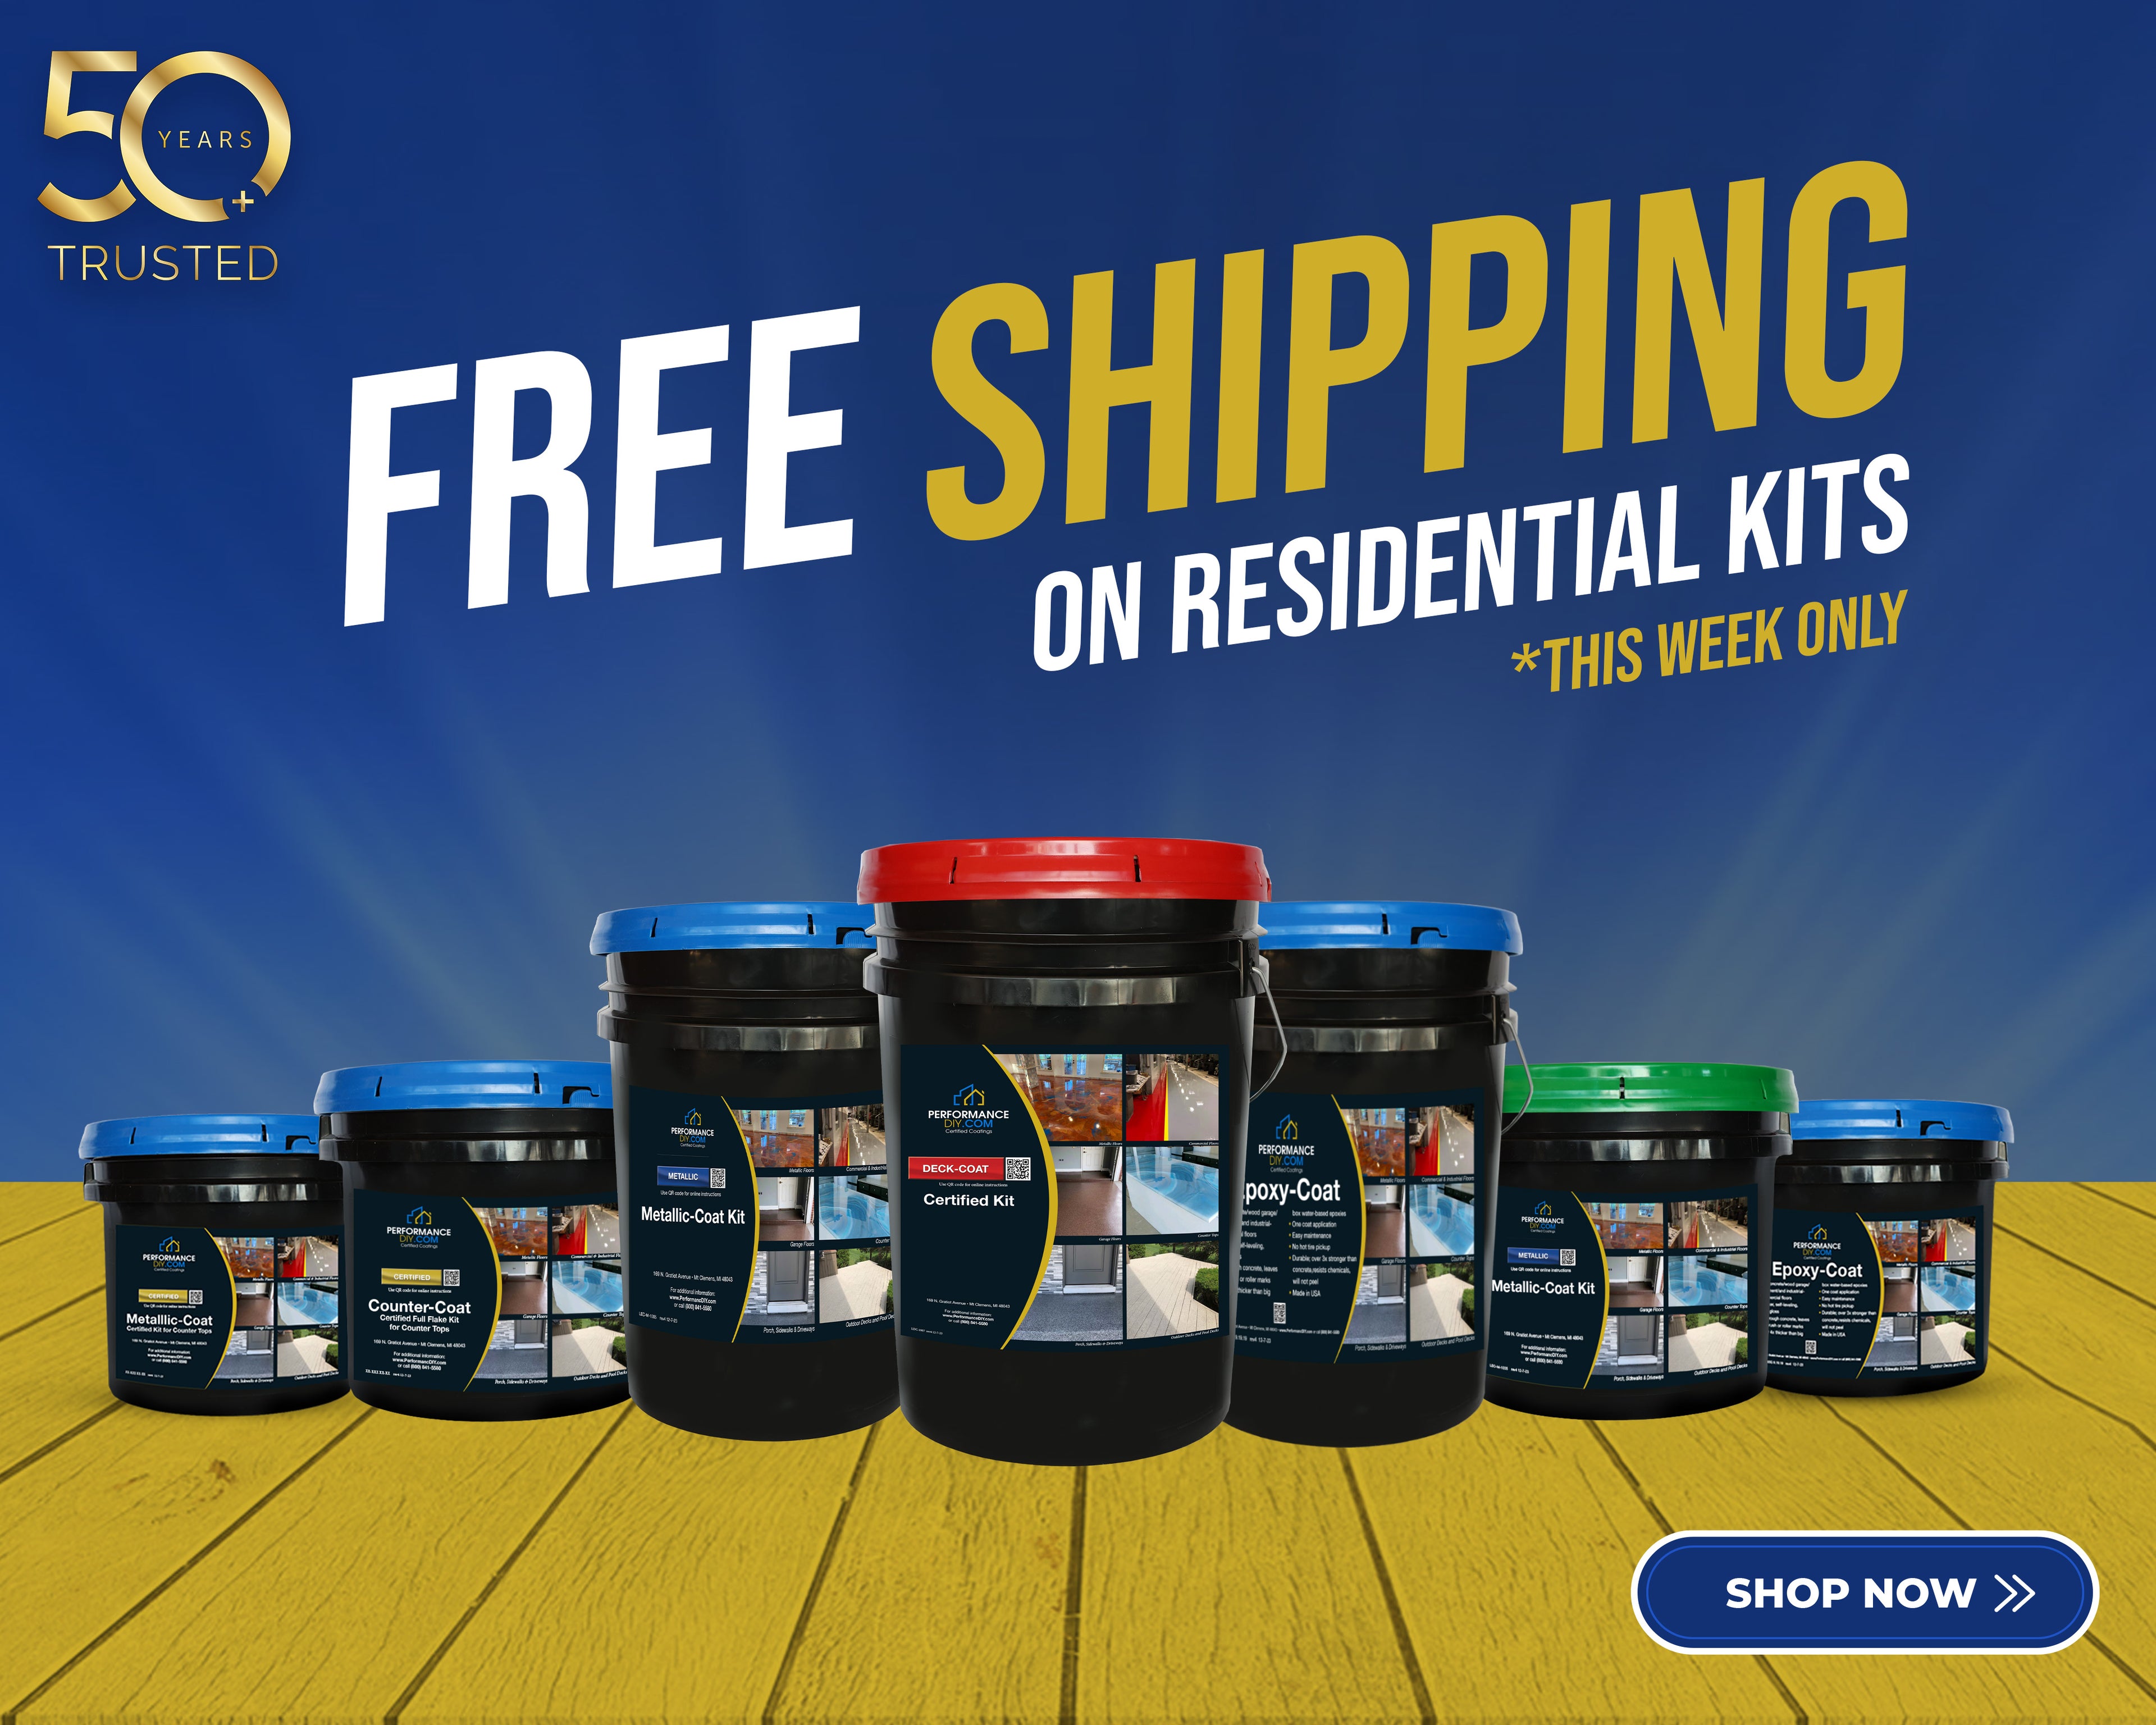

50 Years Experience in Certified Epoxy Flooring Kits
The #1 Certified Epoxy & Polyaspartic Coating Company Since 1978
Leveraging years of industry expertise, we've distilled unparalleled quality into an accessible format.Discover the simplicity born from professional experience—experience the difference with our pioneering DIY kit, designed for those who demand excellence in every aspect of their projects. Welcome to a new era of DIY sophistication.

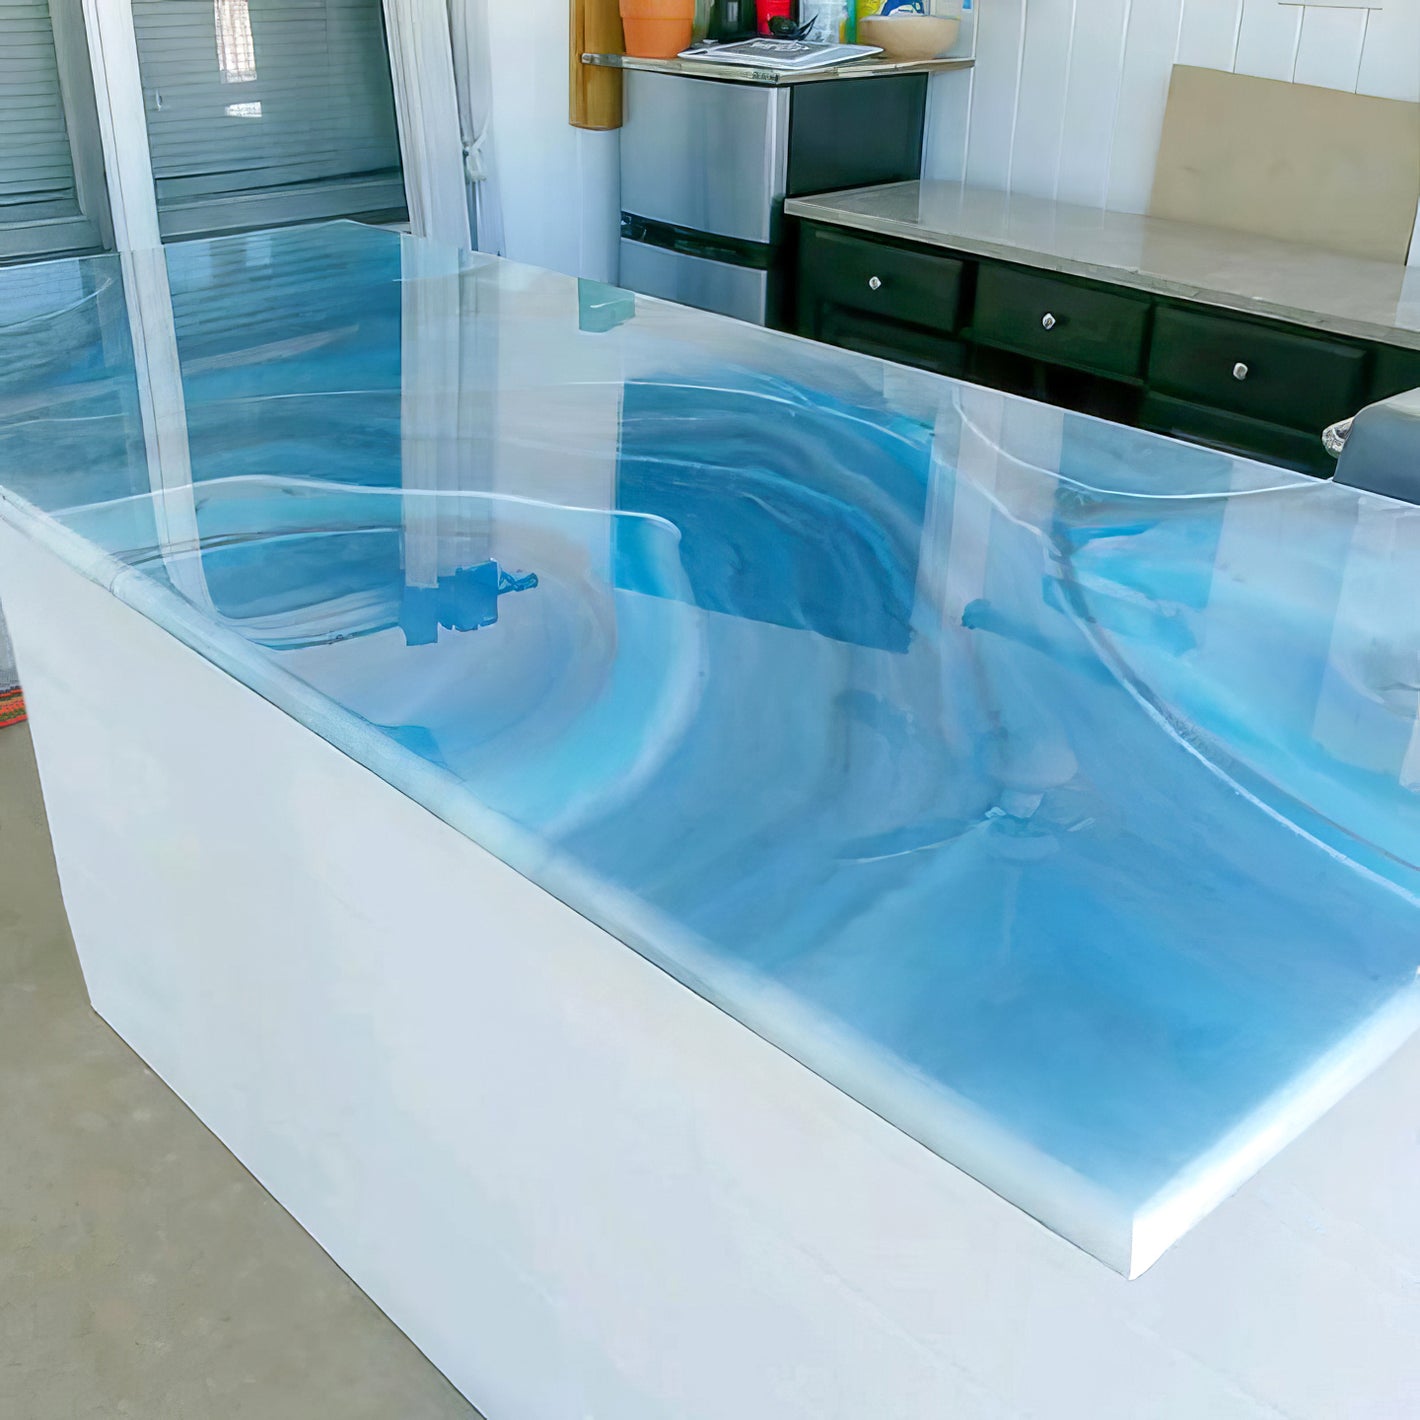
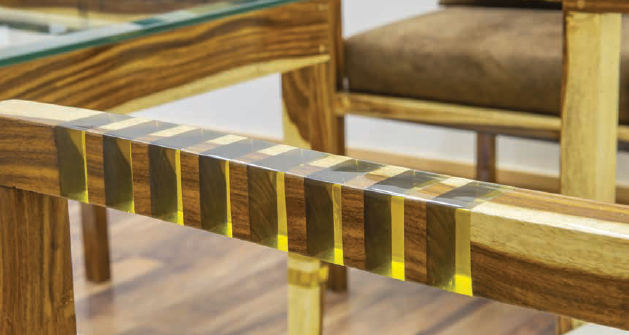
Introducing the Premier Professional-Grade Coatings in Our Revolutionary DIY Kits
Innovative Excellence:
Unveil the fusion of high-performance coatings now seamlessly packaged for the Do-It-Yourself enthusiast. Our kits are the first of their kind, offering professional quality with user-friendly application
Proudly American:
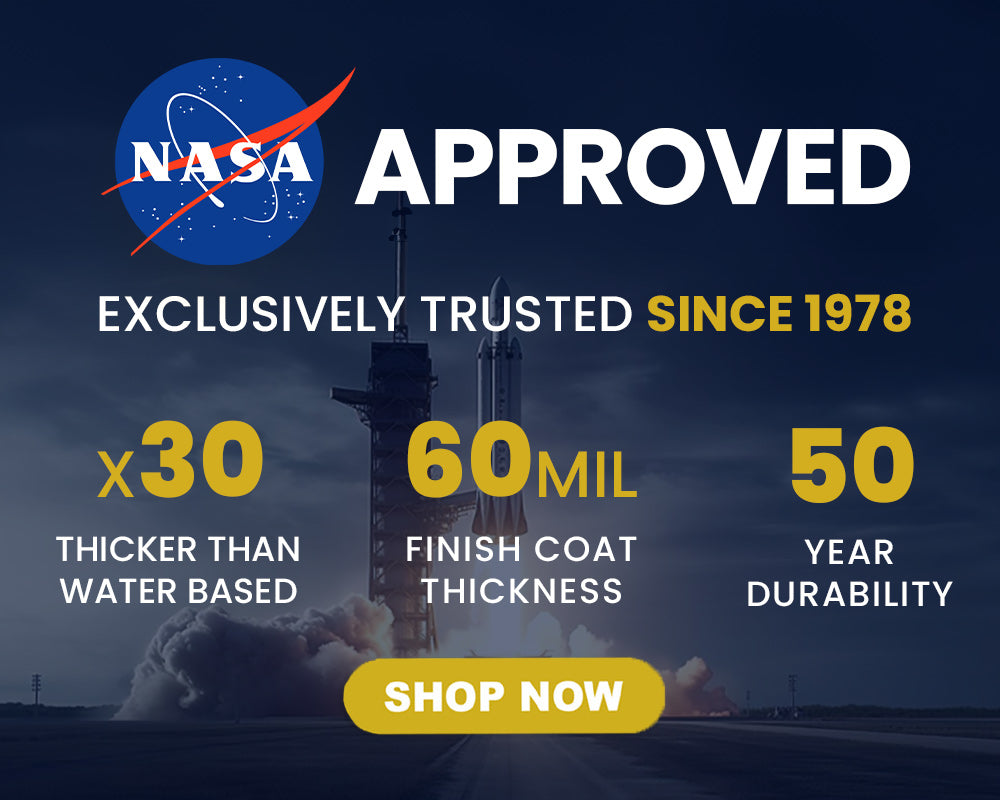
Crafted with over half a century of expertise, our products embody the pinnacle of American ingenuity and quality in the coatings industry.
Unmatched Performance:
Experience the world's leading Epoxies and Polyaspartics, setting new standards in durability and finish.
Home-Safe Application:
Engineered for safety, our coatings are designed to be used comfortably and safely within the privacy of your home.
Corporate Trust:
Our solutions are the choice of Fortune 500 companies, underscoring our commitment to quality and reliability.
Exclusive Innovation:
Our patent-pending technology sets us apart, offering unique advantages previously unseen in the industry.
Unwavering Support:
We provide comprehensive technical and installation guidance to all our customers, every day of the year, ensuring success in every project.
Quality Assurance:
Every product is meticulously formulated and rigorously tested in our facilities to meet the highest standards of excellence.
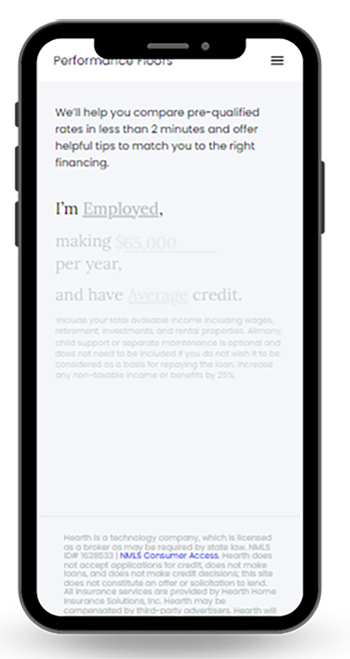
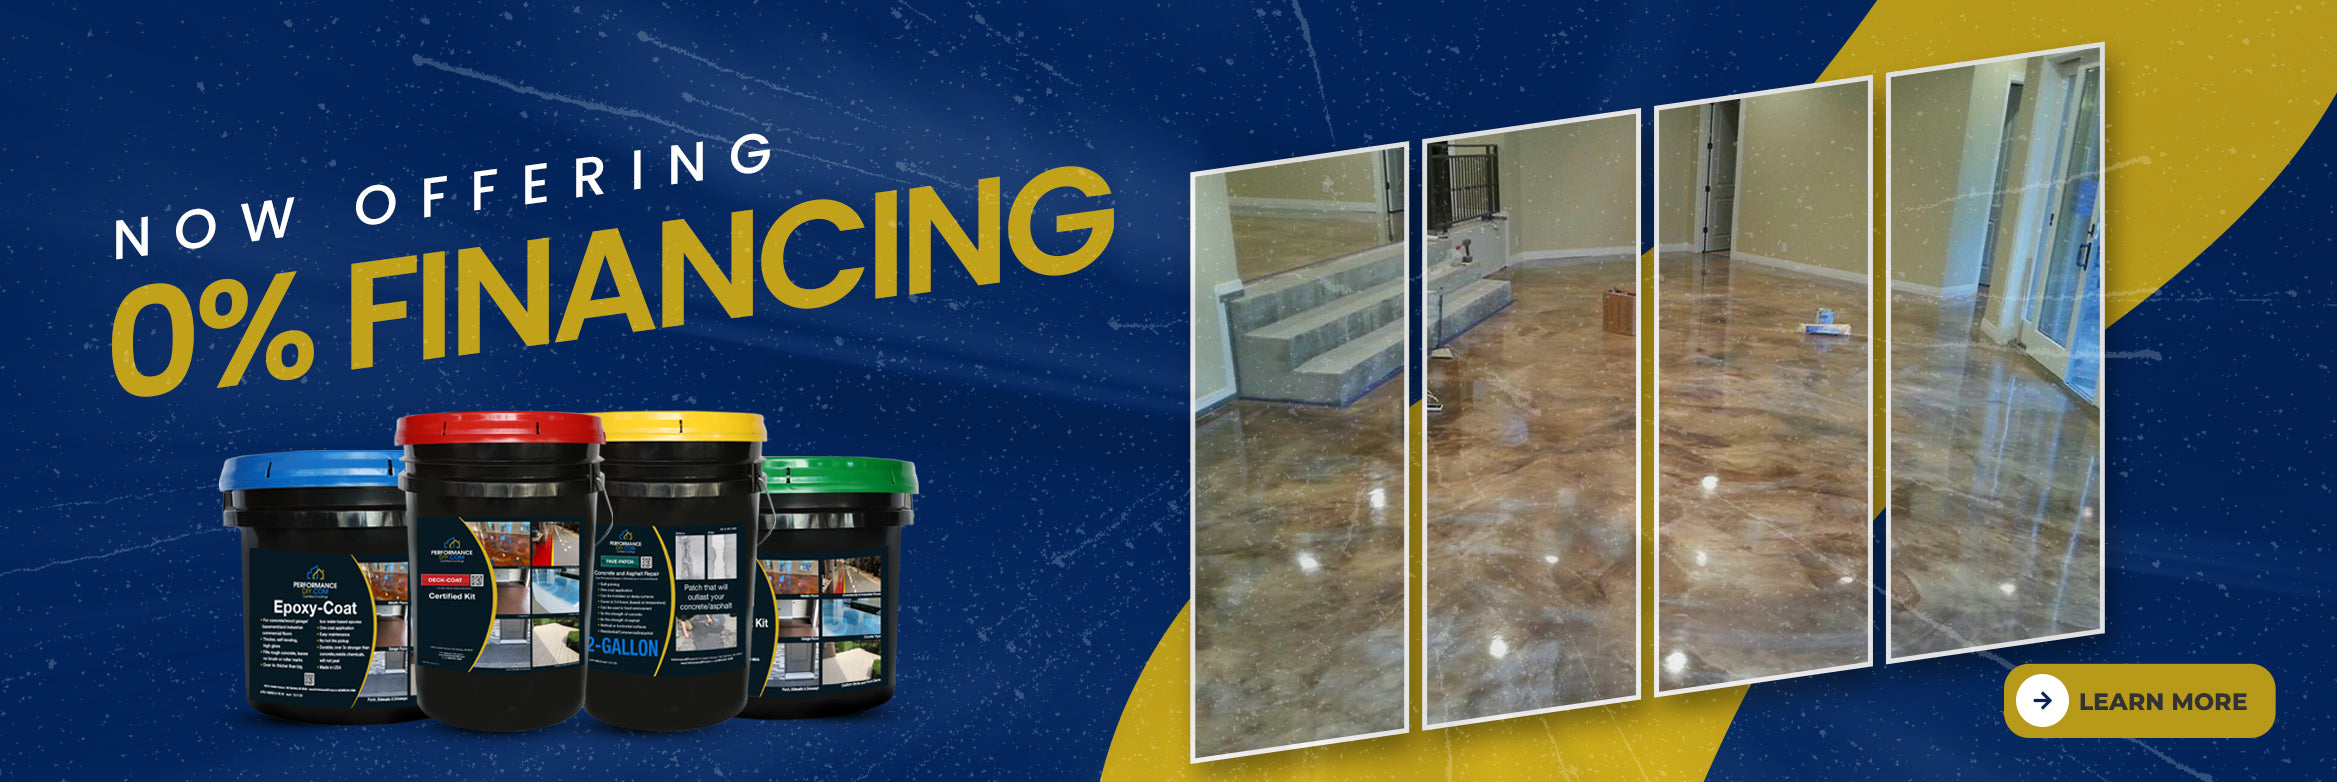
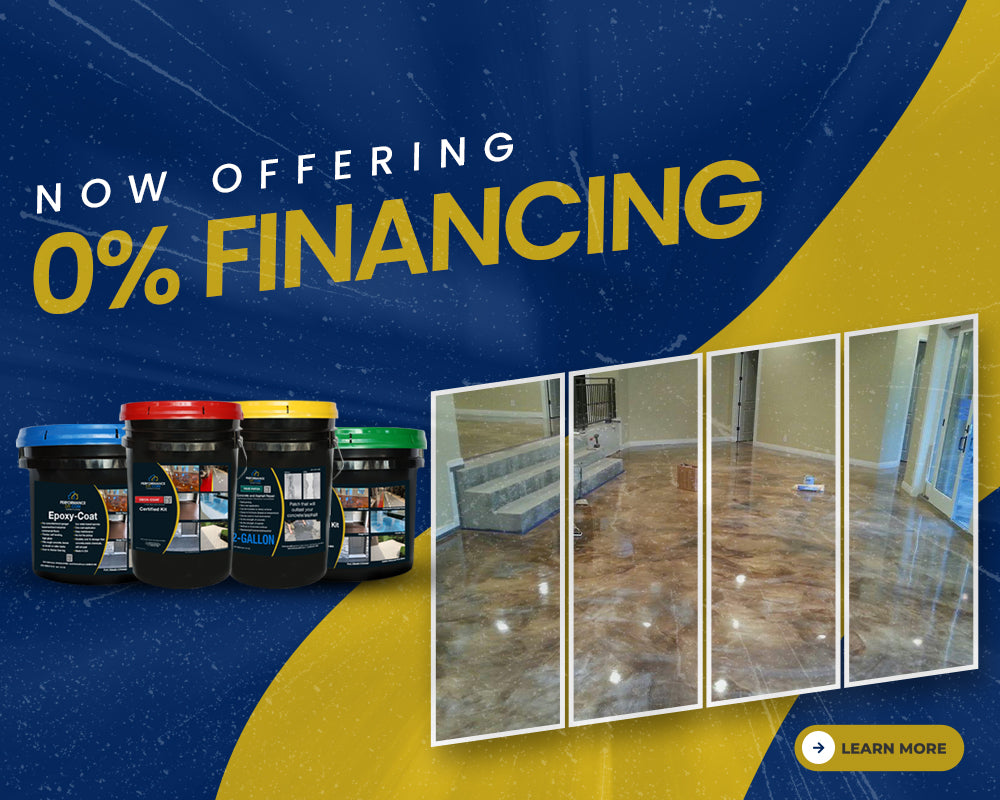
Payment Options Available
Click below to explore affordable and flexible financial plans and turn your vision into a reality!
Powered by Hearth Financing

-
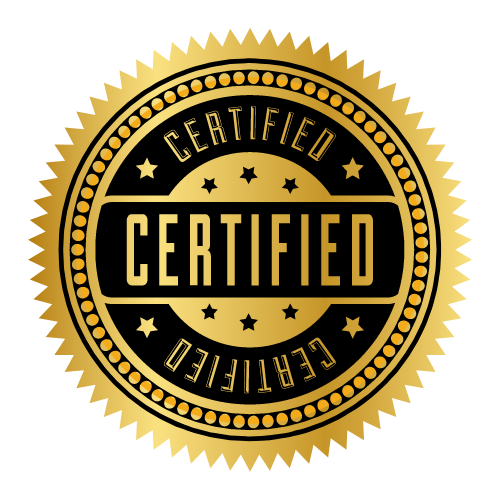
Introducing the World’s First Transferable Lifetime-Certified Warranty for Floor Coatings
The Pioneering Certified Warranty ExplainedDelve into the groundbreaking offering from PerformanceDIY: the industry’s inaugural transferable lifetime warranty for floor coatings. This pioneering initiative guarantees the enduring quality and value of your investment in our floor coating systems. Each coating is accompanied by a permanent label, meticulously detailing the system's base color, flake colors, and the date of sale, ensuring that the integrity and specifics of your warranty are preserved for the lifetime of your home. Discover the unparalleled commitment to excellence and customer satisfaction with PerformanceDIY's lifetime-certified warranty, a testament to our innovation and leadership in the coatings industry.
-
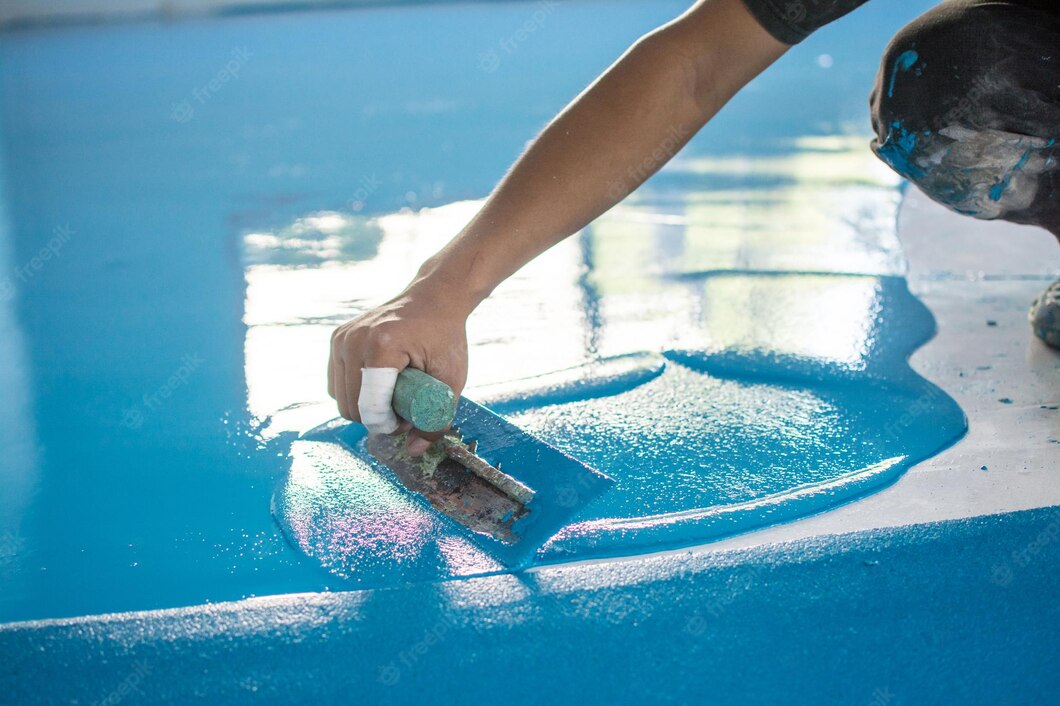
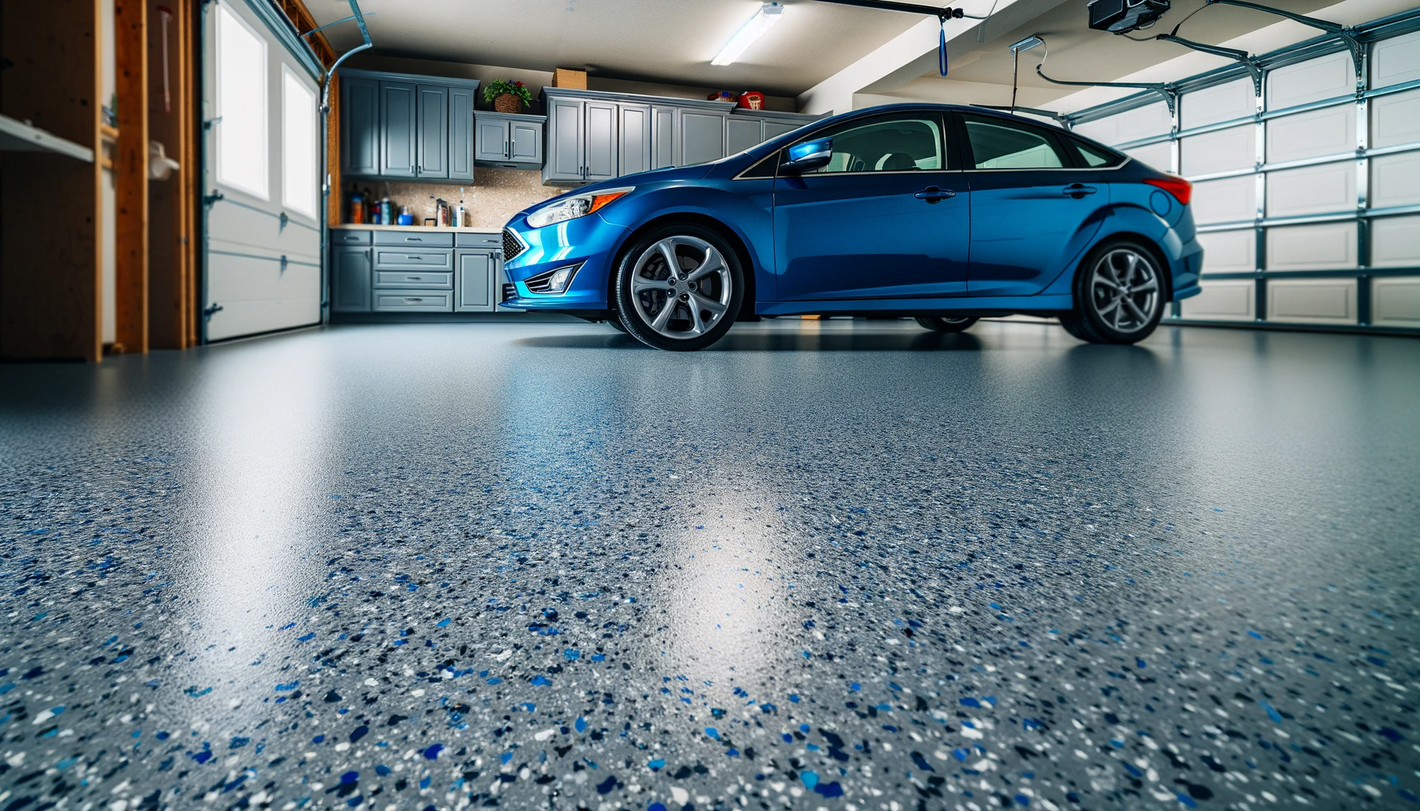
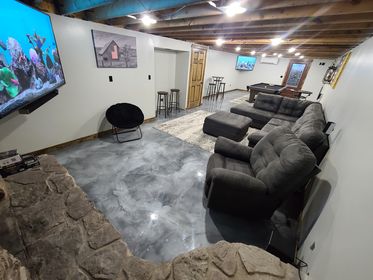
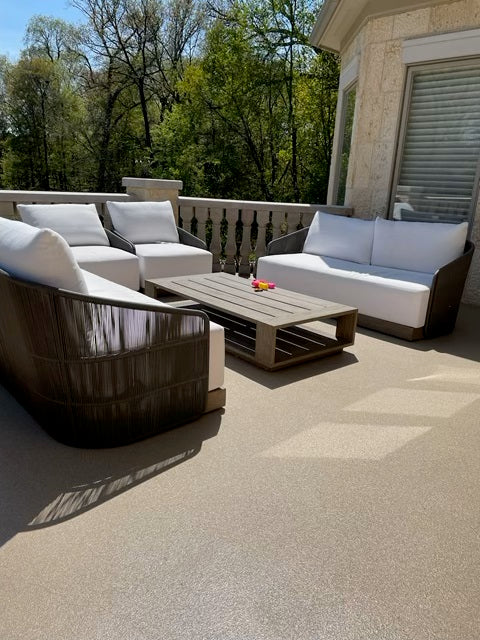
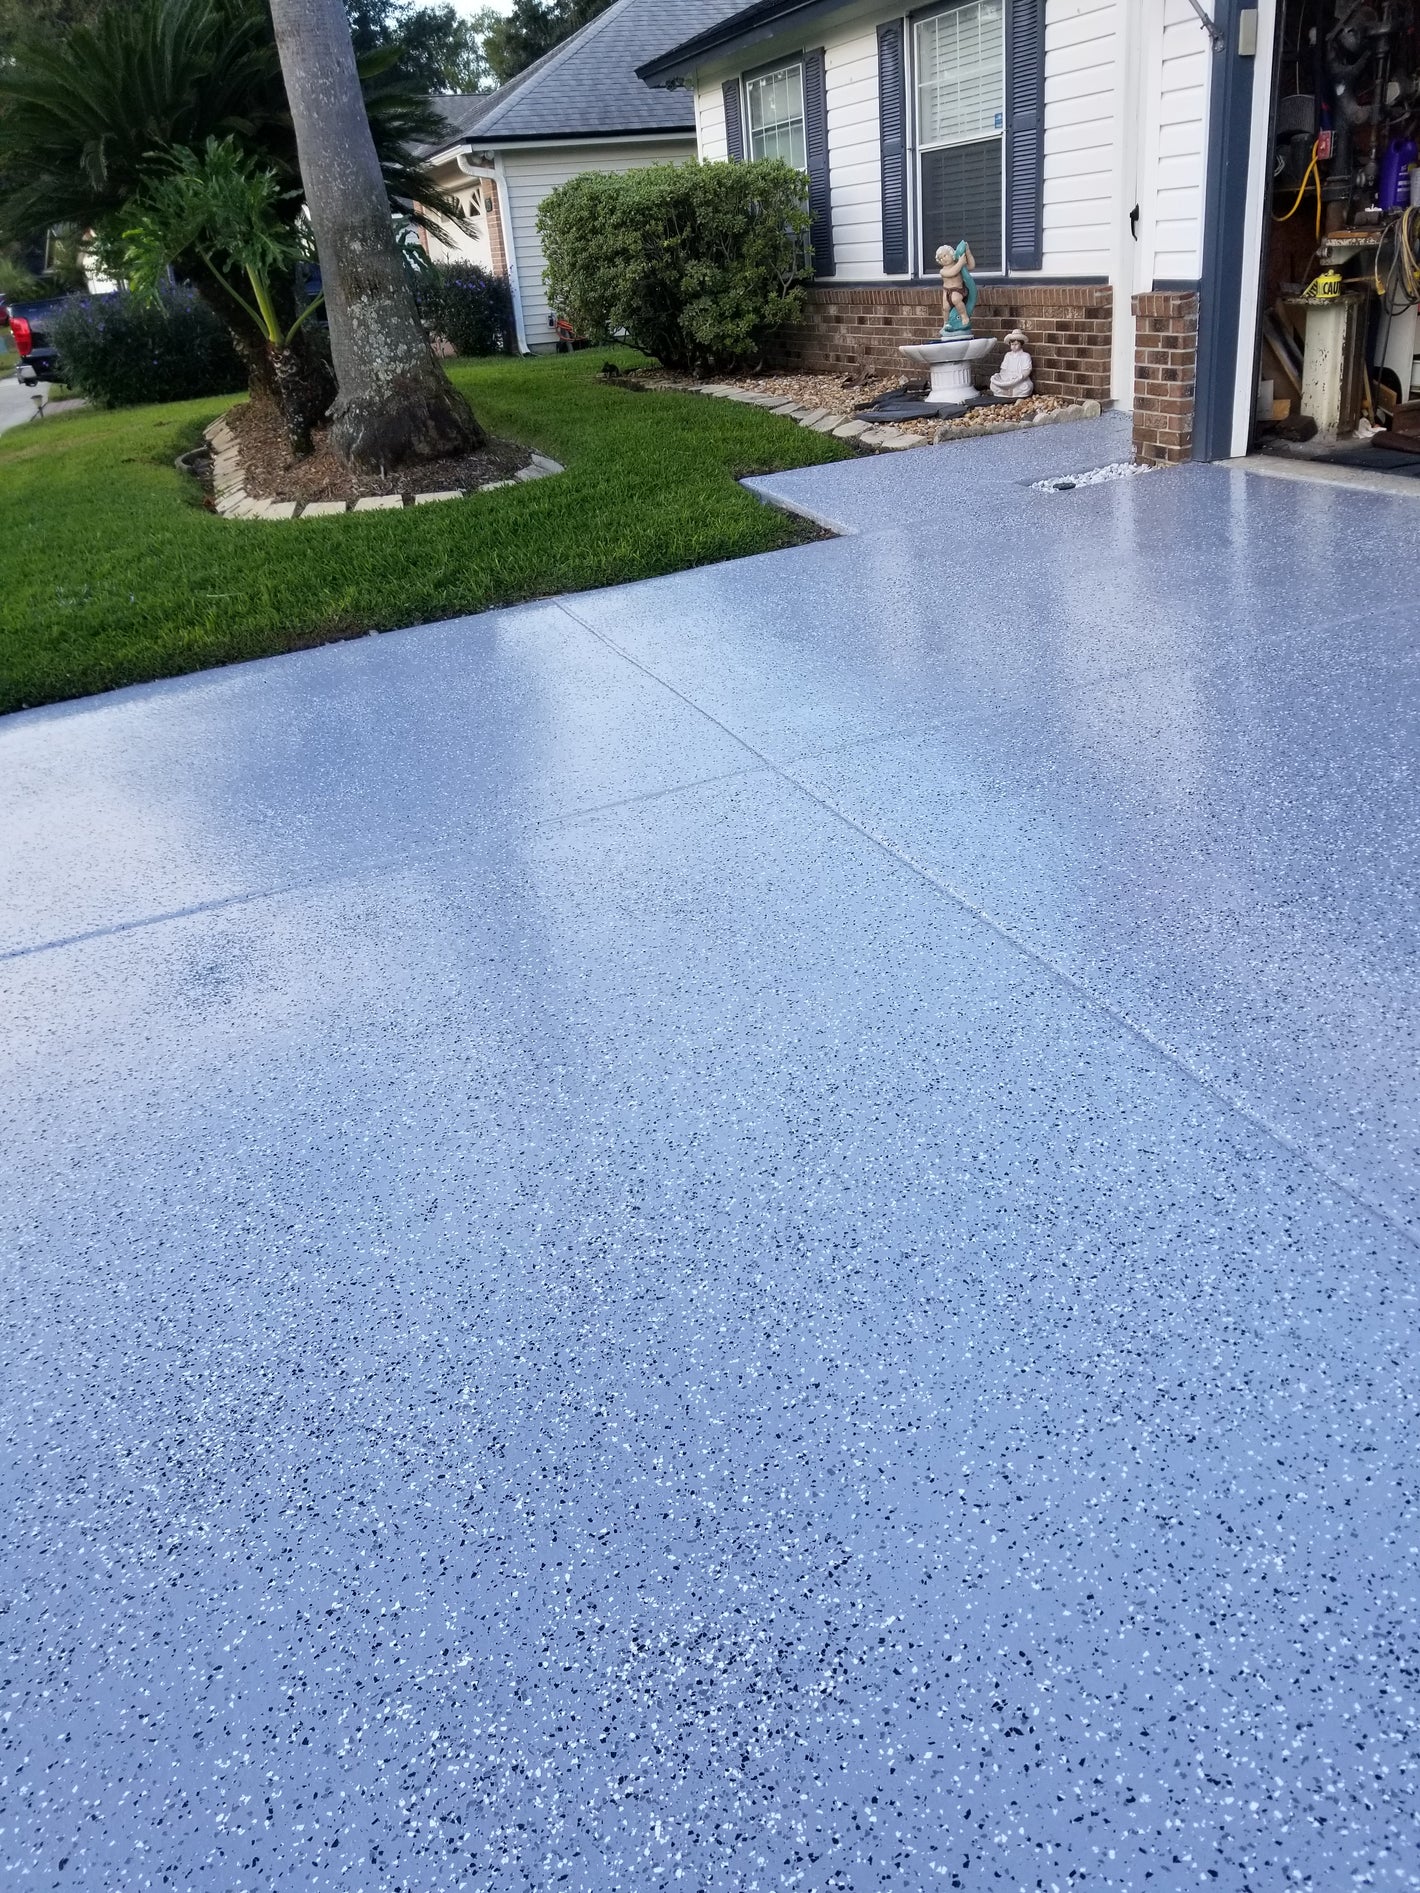
Why Choose Our DIY Floor Coating?
The Science Behind EpoxyIn our newest blog post, we delve into the intricacies of high performance DIY coatings, shedding light on the significance of "100% solids" and its impact on selecting the ideal solution for your project. Unravel the complexities of epoxy/polyaspartic chemistry, understand the shortcomings of lower-priced alternatives, and learn why Performance DIY has remained the preferred option for high-quality DIY kits since 1974. Additionally, we introduce you to the exceptional benefits of polyaspartic coatings, highlighting their unique features.
-
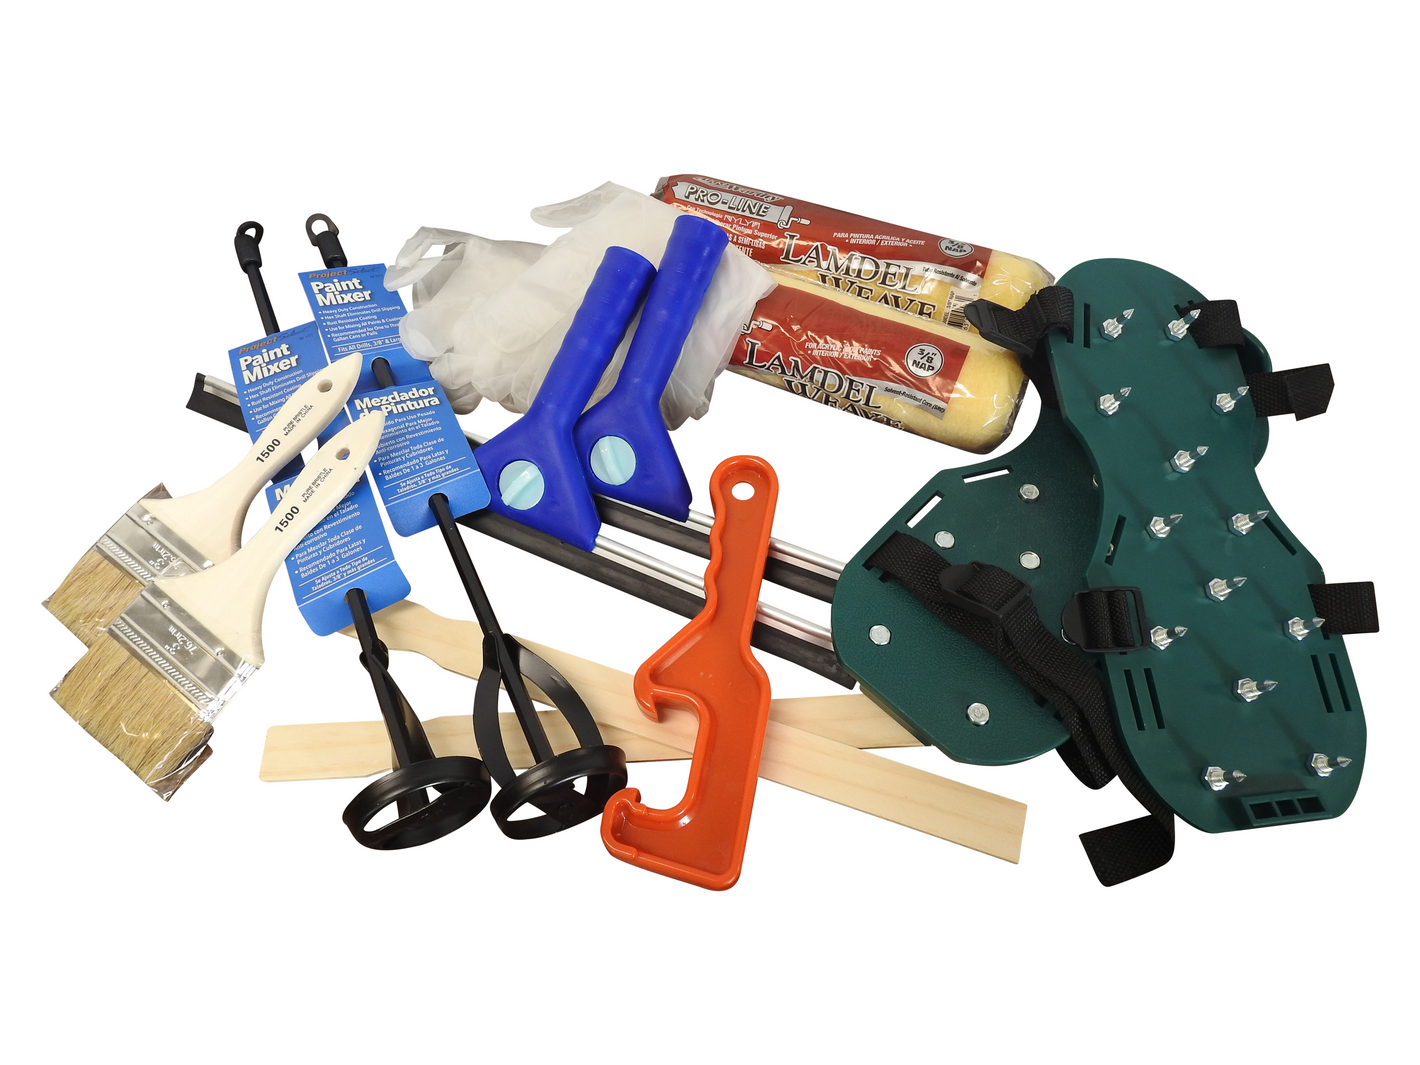
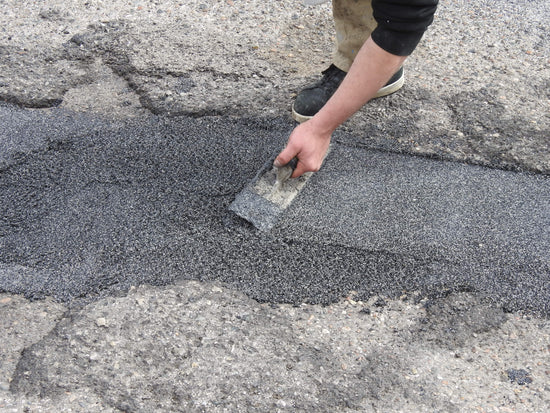
What Does Our Kits Include?
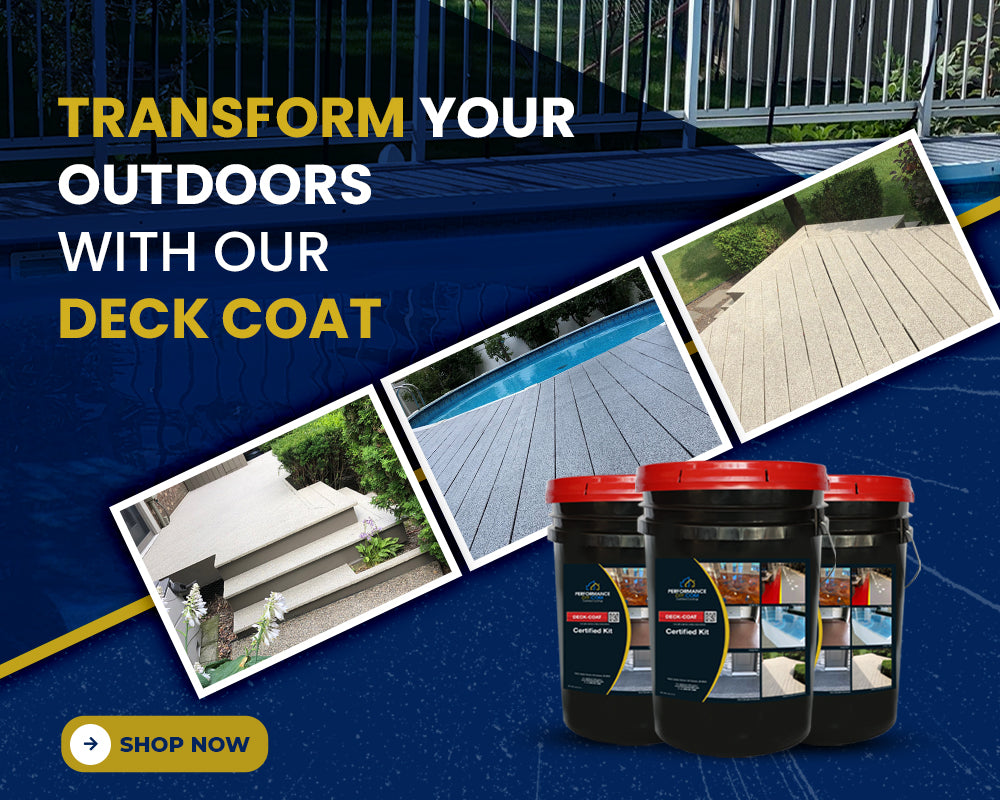
Why a PerformanceDIY Kit?Unveil the pioneering high-performance coating kits from Performance DIY, meticulously assembled to provide you with every tool necessary for achieving a professional-grade finish. Boasting half a century of technological excellence, our kits are designed to empower DIY aficionados with both time and cost savings without compromising on quality. Rely on our expertise and the superior caliber of our epoxies and polyaspartics for enduring, professional-grade results on your floors and surfaces.


Professional Installation Is Available
For more information regarding contracting/installation for business or residential please call one of our customer representatives
Monday to Friday 9am to 5pm Eastern Time